{Crochet} 3 Musketeer Cacti pattern
I adore cactus due to their strength, forgiveness….
For someone like me who always forget to water plant, cactus is my perfect match. I like to put them by the tea room’s window.
Anyway, let’s meet my Three Musketeer Cacti…
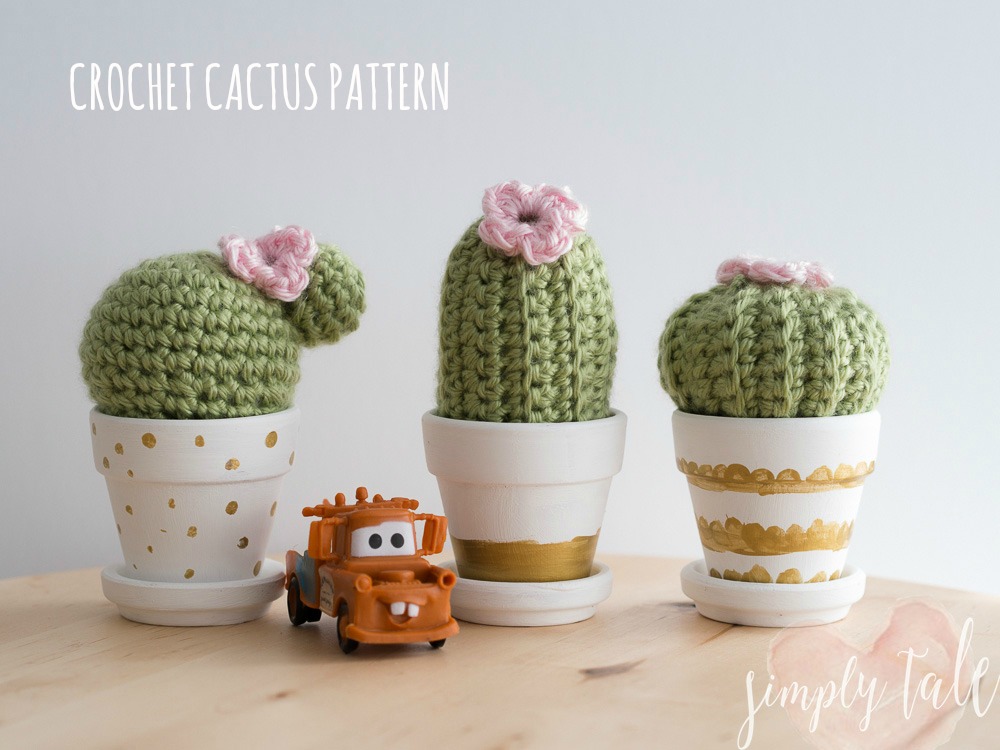
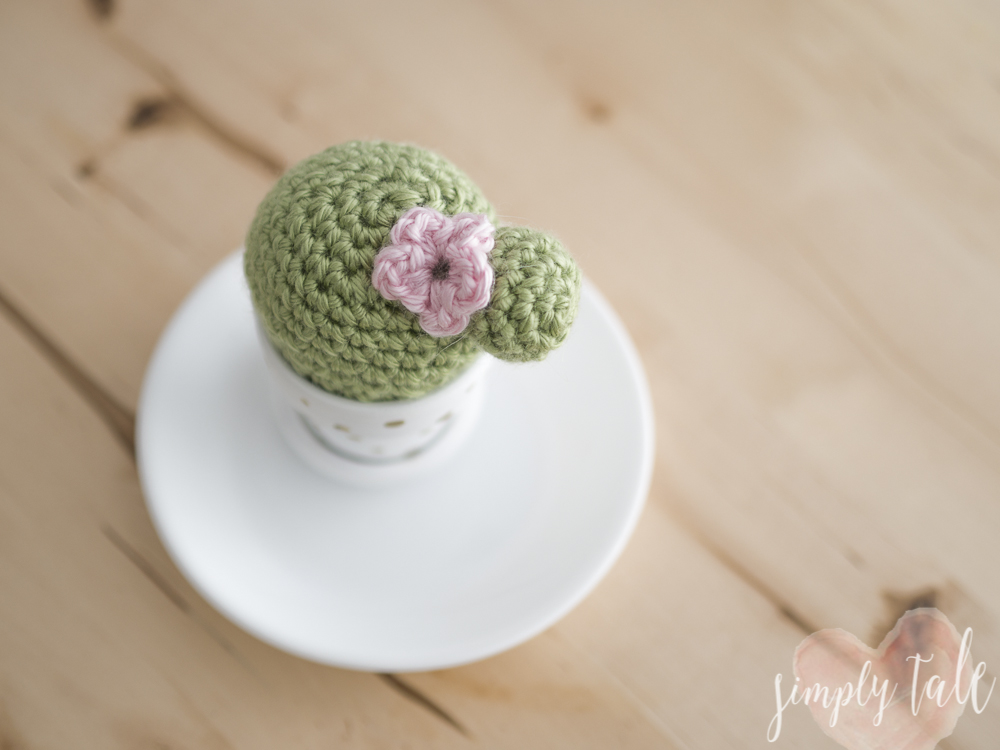
The first cactus is a Ball cactus {not sure what’s the real name is}. It shape is round like a ball but not prickly.
 Materials
Size 3.5 mm
Yarn needle
Stuffing
Flower pots in small size
Medium worsted yarn
Body:
With green color, ch 2
Round 1: 3 sc in 2nd ch from hook (3)
Round 2: 2 sc in each stitch (6)
Round 3: *1 sc, 2 sc in next st*. Repeat from*. Join (9)
Round 4: *2 sc, 2 sc in next st*. Repeat from*. Join (12)
Round 5: *3 sc, 2 sc in next st*. Repeat from*. Join (15)
Round 6 – 8: 1 sc in each stitch around. Join (15)
Round 9: *2 sc, 1sc dec in next stitch *. Repeat from *. Join (12)
Round 10: *2 sc, 1sc dec in next stitch *. Repeat from *. Join (9)
Round 11: *1 sc, 1sc dec in next stitch *. Repeat from *. Join (6)
Stuff firmly
Round 12: 1 sc dec around. Join (3)
Fasten off and sew open end closed.
The second cactus is called Barrel cactus which has pricks.
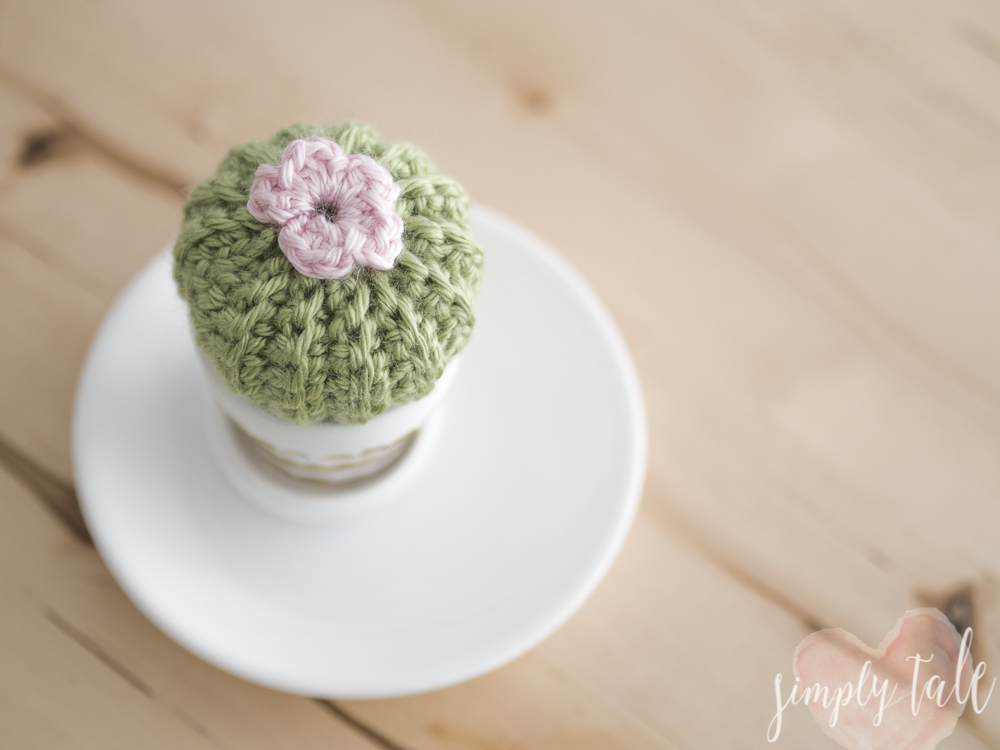
To achieve the prickly looks, we have to work sideways.
- Start with xx chain to desire height.
- Turn, ch 1, crochet into the front loop only for xx rows to desire cactus diameter. This should give a rectangle with very visible ridges.
- Cut yarn and draw through last yarn, leaving a long tail
- Using a tapestry needle, stitch the initial chain to the last row to create a tube with vertical ridges
- Thread the needle through the bumps on one end of the open tube, drawing tightly together to close the end.
- Stuff firmly
- Repeat step 5 for the other end.
And the last cactus is the tallest, called Saguaro cactus.
 The same way you crochet the Barrel cactus, but make it as long as you wish.
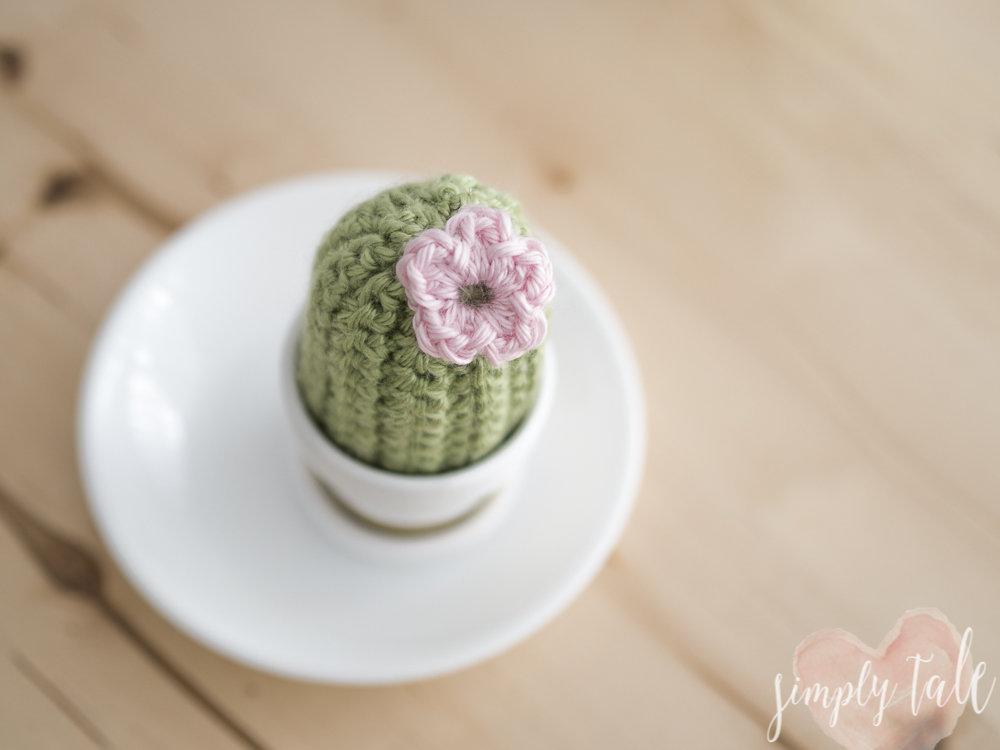
To add cuteness, crochet a small flower and sew on the top or side.
Flower:
With different color yarn, chain 5 and join.
*ch 1, 1sc, 2 HDC, 1 sc, sl st*. Repeat from * until you have 5 petals. Sl st at the 1st chain.
To finish, I tucked my cacti in small flower pots. I painted them with white and gold acrylic paints.
Admire your cactus! No watering necessary. Perfect for me =)


Since succelents are still the trend for weddings, why not making these for party favors?


Search Amazon

4 Responses to This Post
Kari
April 6, 2017 |
On round 5 I am only coming up with 15 stitches not 16
Simply Tale
April 9, 2017 |
Aha! You are right. Round 5 should be 15 stitches. Thank you Kari.
Catherine
July 13, 2018 |
Hello! For the ball cactus, what are the instructions for the little part of the cactus branching off of it? Unless I’m just misreading it?
Thank you! Love your work 🙂
Simply Tale
August 8, 2018 |
Hi Catherine, The small ball like branch is just like the body but smaller. Do Round 1-3, round 4: repeat round 3 and start decreasing again. Thank you for the comment, I will add the instruction on the blog soon.