{DIY} Tulle and Ribbon Scrap Bows
Spring cleaning, Spring cleaning !
I am so ashamed of my studio right now. I have lots of ribbons and tulle with variety of colors, sizes, patterns and length.
They filled out the entire bottom of 6′ folding table I have 🙁
I posted them for sale on my Etsy.
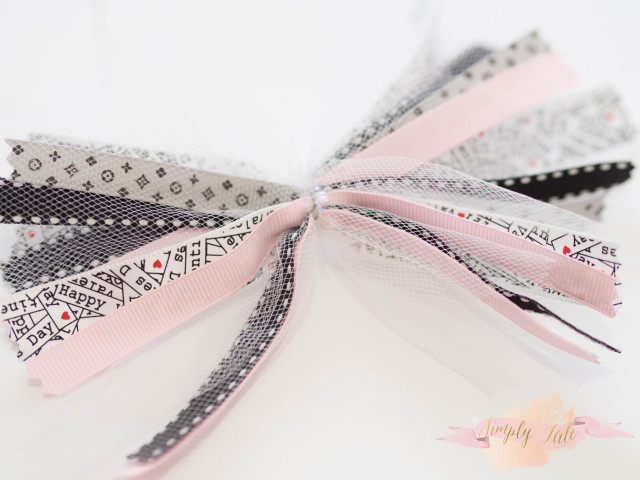
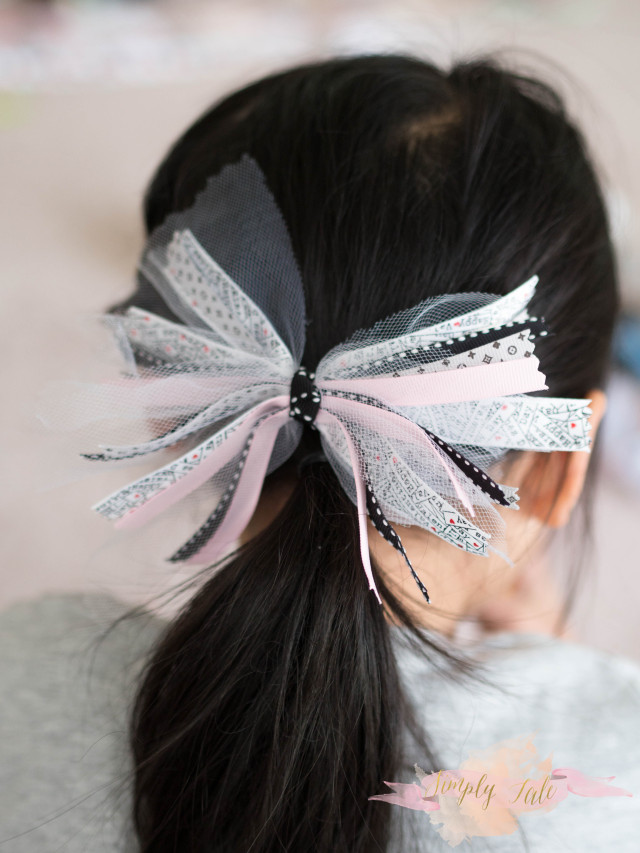
At the meantime, I want to share with you what I made with these ribbons: Tulle and Ribbon Scrab Bows.
Here are the pictorials:
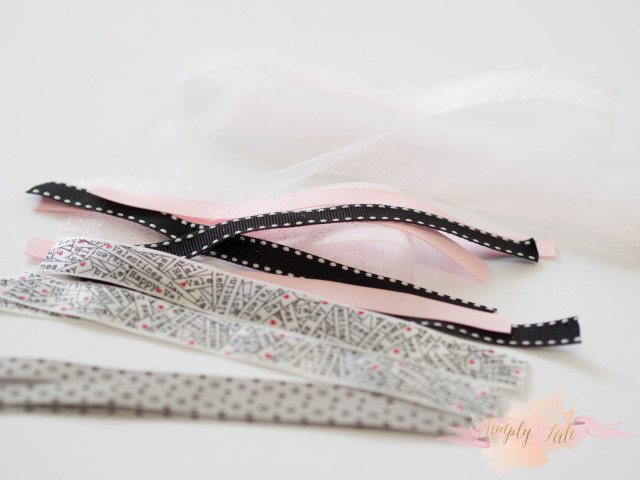
Organize all your ribbons by color.
Decide what color scheme you want for the bow.
Cut all your ribbons and tulle to be about 6-7 inches long.
Now that your ribbons and tulle are all cut, it’s time to start stacking them.
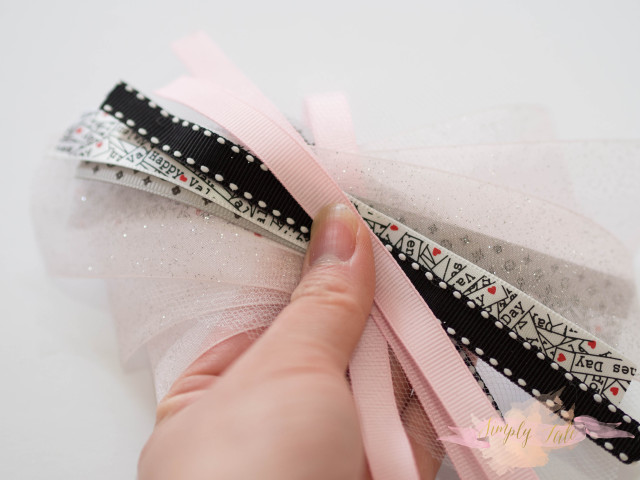
Make an “X” by having your ribbons cross in the center of the bow.
To add extra volume and texture to the bows, use tulle in between ribbons.: layer 2 pieces of ribbon and then alternate with a piece of tulle.
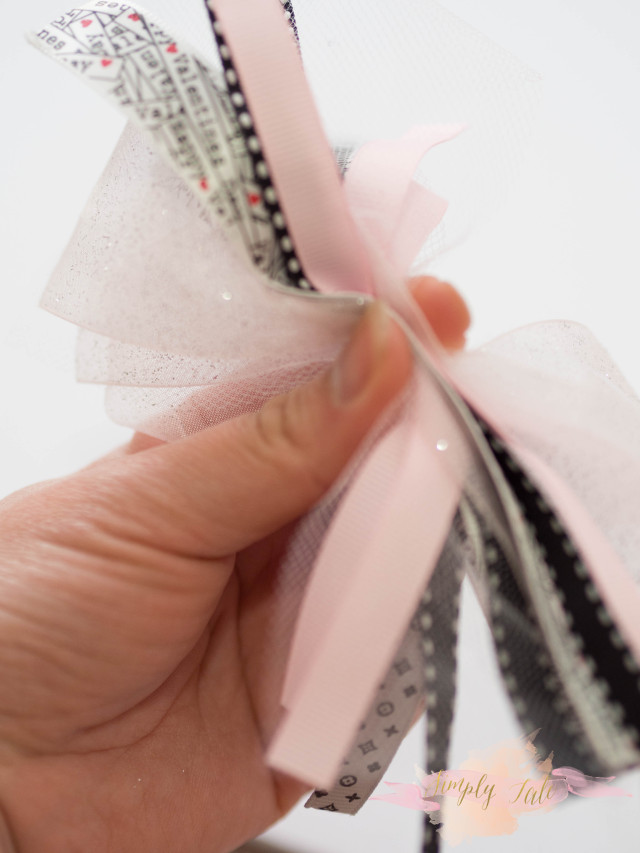
Once you are done stacking, pinch all your ribbons and tulle together in the middle.
Using a piece of craft wire, wrap the wire around the middle (right where you were pinching the ribbons together).
Trim the edges down- you can make this bow as big or as little as you want by how much you trim each side.
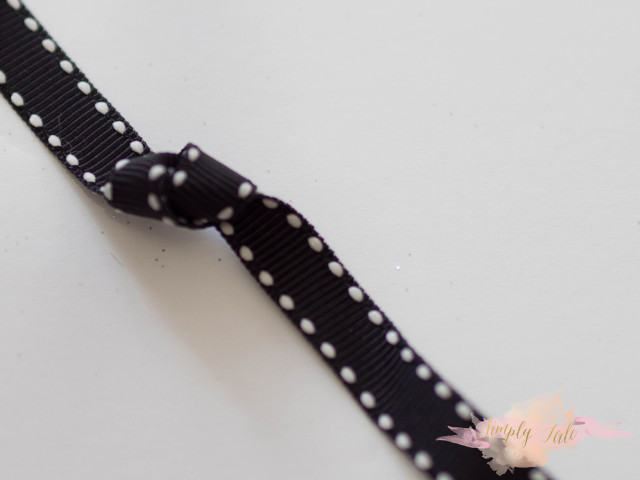
Take a piece of ribbon (about 6 inches long) and tie a simple knot in the middle.
Put a dot of hot glue on the back of the knot and stick it right on the wire wrapped around the ribbon.
Wrap the ribbon around the back of the bow and glue both pieces down.
Trim any extra pieces hanging over (this is the back of the bow).
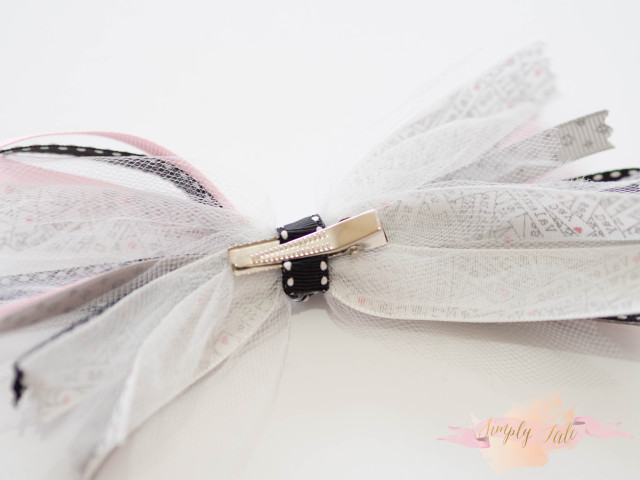
Using a hot glue gun, glue your barrette or clip to the back of the bow and you are good to go!
What do you do with your scrap ribbons ? Please share in the comment below.
Happy Bow Making !
- Shared by Simply Tale
- Category Crafts, Fashion, PROJECT INSPIRATIONS
Search this site
ETSY shop
Search Amazon
Credits
It is my intention to give 'credit' to whoever the picture belongs to, but Ooops does happen. If you find pictures that belong to you without 'noted' source, please let me know.



No Response to This Post