Cited from Style Me Pretty.
“I sort of think that every good party needs a fabulous dessert table. It’s like a party rite of passage or something, fitting for 5 year olds and 50 year olds alike. And, let’s face it, it’s always a crowd favorite. So we hit up the First Lady of Dessert Tables herself, Miss Amy Atlas, for a few quick tips and tricks that she uses when planning the perfect dessert table. You’ll definitely want to print these babies out and save them for your next big shindig.
Get Inspired! You can get inspiration from anything. For example, the inspiration can come from the guest of honor’s favorite pattern (i.e. quatrefoil) or the her favorite cookie (a cookie bar).
Mock-Up. Create a mockup of the design before the event to get a sense of whether you need to add additional candy/desserts (or if you have planned for too much and you need to scale back).
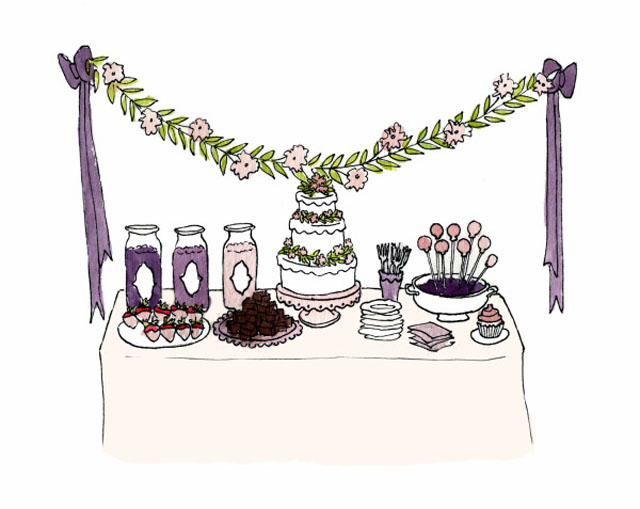
Sense and Sensibility. Once you decide on the sensibility of your table, you should keep that in mind during all design decisions for the table. From the linen to ribbon to vessels to the actual desserts, everything should have a similar feel. A modern table may call for a square cake, clean-lined vessels and grosgrain ribbon, while a romantic table may call for a round cake, scalloped vessels and satin ribbon. Think about the theme you want to create and stick to that theme throughout the design process.
Desserts. Think about what desserts you want on your dessert table. I suggest having a variety of 6-8 desserts on the dessert table, as well as a few varieties of candy. Cake, brownies, bars, mini pies, and truffles are always favorites.
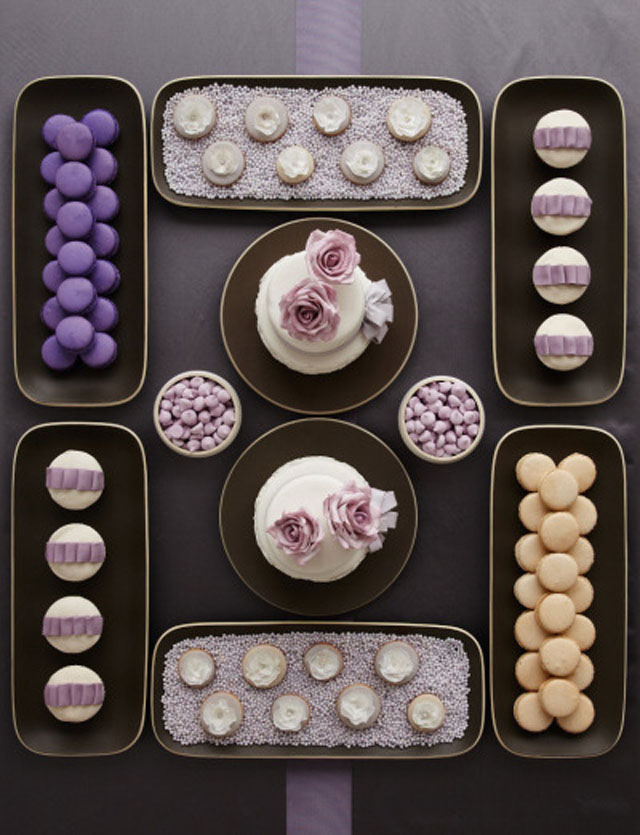
Color. I love bringing in color palettes that are unexpected. I also love to have two main colors for a punch of color and a neutral accent color. If the table is pattern heavy, make sure to include a lot of white (i.e. white platters) so the design doesn’t look too cluttered.
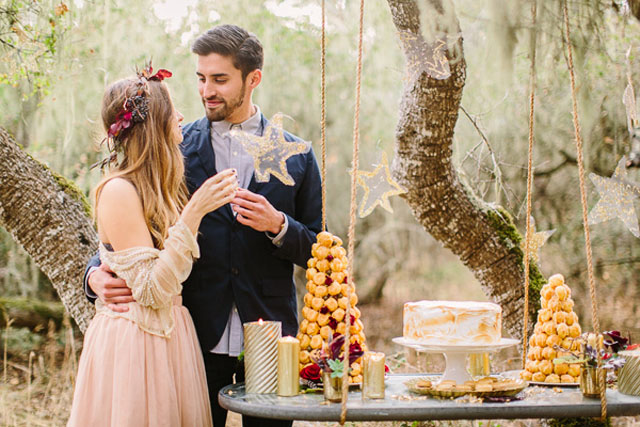
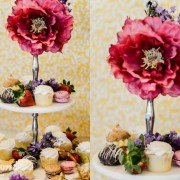
Create a focal point. I always have a main focal point on a dessert table. If you are serving wedding cake with the dessert table, lift it a little higher on a pretty cake stand and center it in the middle of the table. A large floral centerpiece or a tiered stand with desserts can also be a focal point, but I always try to allow the cake to be the star.
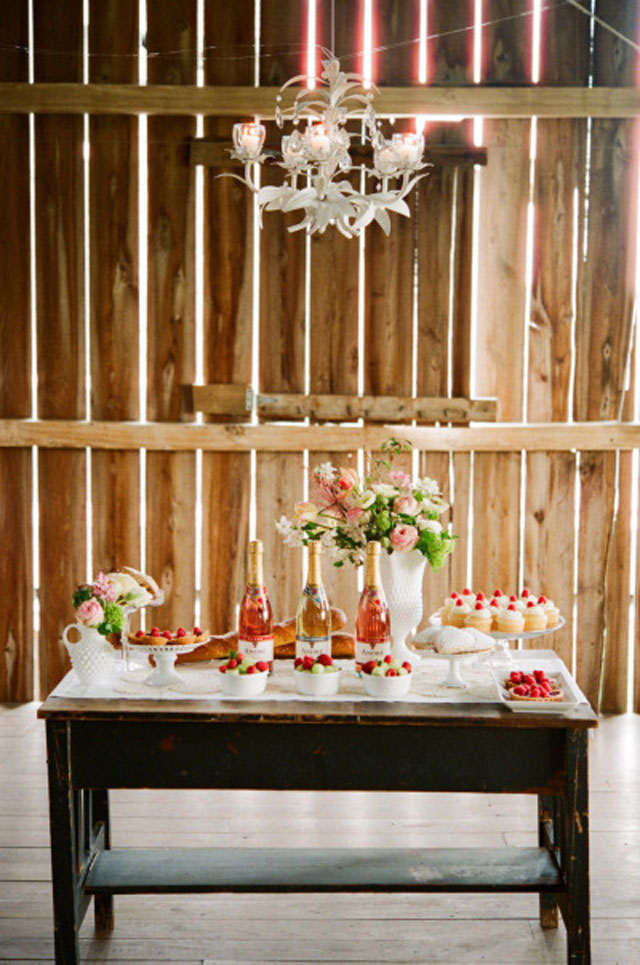
Levels, Levels. In addition to your main focal point, create a few different levels in height. This can be done with flowers, or with tall and low serving pieces. This will help make the dessert table more visually interesting. For practical matters, make sure to place your low-lying items in the front of the table. Tall apothecary jars filled with candy are better positioned towards the back.
Embellish! Add more décor by adding a garland or a backdrop behind the table. You can also hang decorative items above the dessert table (i.e. paper lanterns) with fishing wire.
Tags and Flags. Add candy tags and dessert flags to label your desserts. This will help your guests identify what they’re eating, and is also an opportunity to add an element of design to your dessert table since you can print out pretty tags/flags easily from the web.
Eat. Enjoy all of the sweets with your guests!
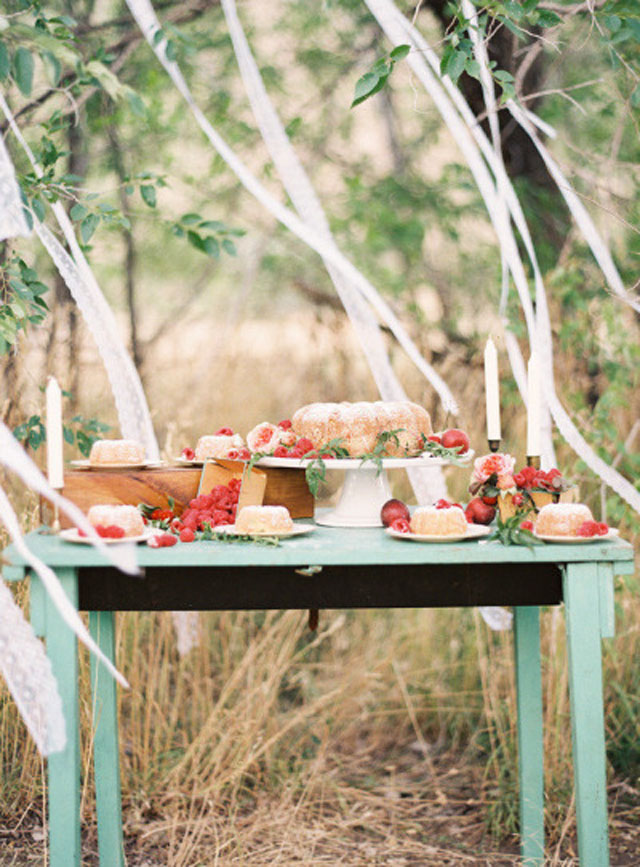
Having worked in the wedding industry for basically ever and having hosted one party after another, I can tell you first hand, that a dessert table is ALWAYS a hit. And yet the concept is a bit overused so it’s important to continue to push yourself creatively with design and execution. Think outside the cake if you will. We’ve rounded up a few of our all time favorite dessert tables to help kick off the inspiration and get the sugar wheels a turning.
for more inspirational dessert tables, visit Style Me Pretty.
- Shared by Simply Tale
- Category Tips, Twist n Swirl
You Might Also Love
Search this site
ETSY shop
Search Amazon
Credits
It is my intention to give 'credit' to whoever the picture belongs to, but Ooops does happen. If you find pictures that belong to you without 'noted' source, please let me know.


No Response to This Post