{Crochet}: Mustache, mustache and more mustache
Fake mustaches are way too much fun! from long and skinny to thick and fluffy…
:: credit :: Mamachee

Materials:
G hook
Worsted Weight Yarn
(I used Lion Brand Vanna’s choice)
Stitch Marker
Scissors
Fiber Fill
Ch 2
Rnd 1 – work 4sc’s into 2nd ch from hk. (4)
Rnd 2 through Rnd 3 – sc in each st around. (4)
Rnd 28 through Rnd 29 – sc in each st around. (4)
Ideas:
I didn’t do this but I think it would be neat to add a little pipe cleaner into the stash so that you can curl the ends tighter or looser and they will stay in place nicely.
I was also thinking it would be fun to use some brown wool yarn you can brush to make the mustache furry looking. Here is a good tutorial on wool brushing:
http://tamiesnow.typepad.com/roxycraft/2009/06/tutorial-making-brushed-amigurumi.html
 Crochet a ‘stache mask with Jessica Polka‘s crafty yarn moustache craft.Adapted from The Inspirational Moustache, edited by Ziggy Hanaor, published by Cicada Books. Images by Jessica Polk.Materials:
– Size G crochet hook (4.25mm)
– Worsted weight yarn
– Yarn needle
Skills Needed:
– Chain
– Slip
– Single crochet
– Increase
– Decrease
– Double crochet
Row 2: Double crochet in the first three stitches, single crochet in two, then slip in three, then single crochet in two. The purpose of these manipulations is to make the work bend. (10)
Row 3: Repeat instructions for row 2. (10)
Row 4: Repeat instructions for row 2, EXCEPT continue to slip for the last two stitches, rather than single crochet. (10)
Row 5: Slip in the first three stitches. Single crochet in the next two stitches, double crochet in three, and then single crochet in the remaining two stitches. (10)
Row 6: Repeat instructions for row 5. (10)
Row 7: Slip in the first three stitches. Now decrease over the next two stitches, turning them into one. Double crochet in the next three, and then decrease again over the remaining two stitches. (8)
Row 8: Slip in the first three stitches. Decrease over the next two stitches, turning them into one. Double crochet in the next three stitches. (7)
Row 9: Single crochet in the first stitch. Then decrease over the next two, turning them into one. Single crochet in the next stitch, then decrease again, and finally single crochet in the last stitch. (5)
Row 10: Decrease over the next two stitches. Single crochet in the next two stitches. (4)
Row 11: Decrease over the next two stitches. Then single crochet in the last stitch, cut the yarn and tie it off. Work the end of the yarn back into the fabric so you can’t see it anymore.
You now have one half of the moustache! Now repeat the instructions to make the other, and sew them together with a yarn needle, first row to first row, to form the shape shown.
Instructions for adding loops or ribbons and for the other two mustaches can be found at
Head to Jessica Polka’s Etsy shop jpolka for more crafty crochet & amigurumi.
Ode to the Mustache
:: credit :: Walker Whimsy
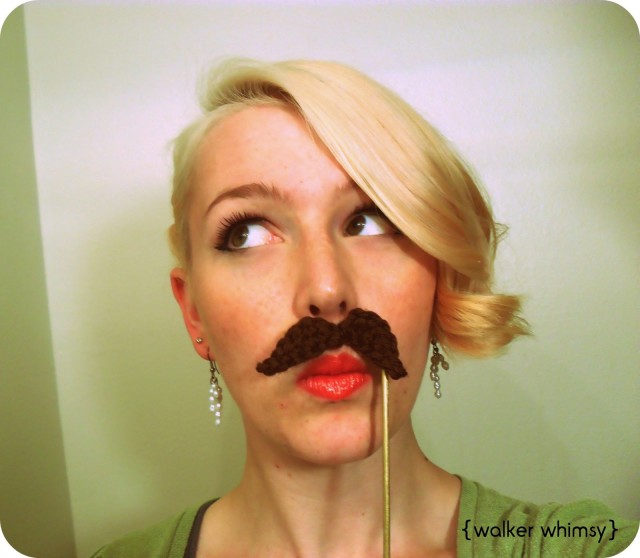
I used a size G crochet hook and worked the back loops only to get my ‘stash to lay flat.
Chain 6
sl st in second chain from hook
sc in next chain
hdc in next chain
2 dc in next chain
hdc, sl st in final chain
Now you have half a mustache! Go you! You follow the exact same steps one more time:
Chain 6 more
sl st in second chain from hook
sc in next chain
hdc in next chain
2 dc in next chain
hdc, sl st in final chain
Mustaches are a pop culture phenomenon these days. From mugs to pencils to finger tattoos, the mustache dominates as a symbol of trendy eclecticism (and manly awesomeness, of course).
I used this mustache for my Santa Clause mug warmer/cozy.
What are you using these mustaches for?


Search Amazon

No Response to This Post